Hey there, tech-savvy friend! If you're reading this, chances are you're diving into the world of IoT, remote connections, and secure server setups. Today, we're going to explore how to securely connect remote IoT devices using P2P SSH on an Ubuntu server. This is not just a guide—it's your go-to resource for building robust, secure connections without compromising performance. So, buckle up, because we're about to dive deep into some serious tech talk!
Picture this: you've got a bunch of IoT devices scattered across different locations, and you need them to communicate seamlessly and securely. Sounds like a challenge, right? Well, fear not, because SSH and Ubuntu are here to save the day. With a bit of know-how and the right tools, you can set up a secure environment where your IoT devices can operate like pros.
Now, let's get real for a moment. Security is not just an option; it's a necessity. Especially when dealing with remote IoT devices, ensuring that your data is protected from prying eyes is crucial. This guide will walk you through the steps to make sure your setup is as secure as it can be, without losing the convenience of remote access. Ready to roll? Let's do this!
Read also:Festival Chaos Attendee Bites Deputy The Untold Story
Understanding the Basics: What is SSH and Why Use It?
Before we jump into the nitty-gritty of securely connecting remote IoT devices, let's break down what SSH is and why it's such a big deal. SSH, or Secure Shell, is a protocol that allows you to securely connect to a remote server or device. It's like a secret tunnel that encrypts your data as it travels between your computer and the server, making it almost impossible for anyone to intercept your information.
Why use SSH for your IoT setup? Well, here are a few reasons:
- It's secure: SSH encrypts all communication, keeping your data safe.
- It's reliable: SSH connections are stable and can handle various types of data transfer.
- It's versatile: You can use SSH for everything from file transfers to remote command execution.
For those of you who are new to SSH, don't worry. We'll guide you step-by-step through the process of setting it up on your Ubuntu server and connecting your IoT devices securely.
Why Ubuntu Server is the Perfect Choice for Your IoT Setup
When it comes to setting up a server for your IoT devices, Ubuntu is hands down one of the best options out there. Why, you ask? Here's the scoop:
First off, Ubuntu is open-source, which means it's free to use and has a massive community of developers who contribute to its development. This means you get regular updates, tons of support, and a ton of resources to help you with your setup.
Secondly, Ubuntu is incredibly stable and reliable. It's designed to run 24/7 without issues, making it perfect for server environments where uptime is crucial. Plus, it's super easy to install and configure, even for those who are new to server management.
Read also:Securely Connect Remote Iot P2p Raspberry Pi Free Download The Ultimate Guide
Lastly, Ubuntu has a ton of built-in tools and features that make managing IoT devices a breeze. From firewall settings to user management, everything you need is right there at your fingertips.
Setting Up Your Ubuntu Server for IoT Devices
Now that you know why Ubuntu is the way to go, let's talk about setting it up. The first step is installing Ubuntu Server on your machine. You can download the latest version from the official Ubuntu website and follow the installation instructions. Once you've got Ubuntu up and running, it's time to configure it for your IoT setup.
Here are the key steps you'll need to follow:
- Install SSH: Use the command
sudo apt install openssh-serverto install the SSH server on your Ubuntu machine. - Configure Firewall: Use the
ufwcommand to set up a firewall that allows SSH connections while blocking unwanted traffic. - Set Up Users: Create separate user accounts for each IoT device to ensure proper access control.
With these steps, you'll have a solid foundation for connecting your IoT devices securely.
Securing Your SSH Connection
Now that you've got SSH installed and your server set up, it's time to focus on securing your connection. Security is key when dealing with remote IoT devices, so here are a few tips to keep your setup as safe as possible:
Use Strong Passwords and Keys
One of the easiest ways to secure your SSH connection is by using strong passwords and SSH keys. SSH keys are like digital locks that require a specific key to unlock, making it much harder for unauthorized users to gain access.
Here's how you can set up SSH keys:
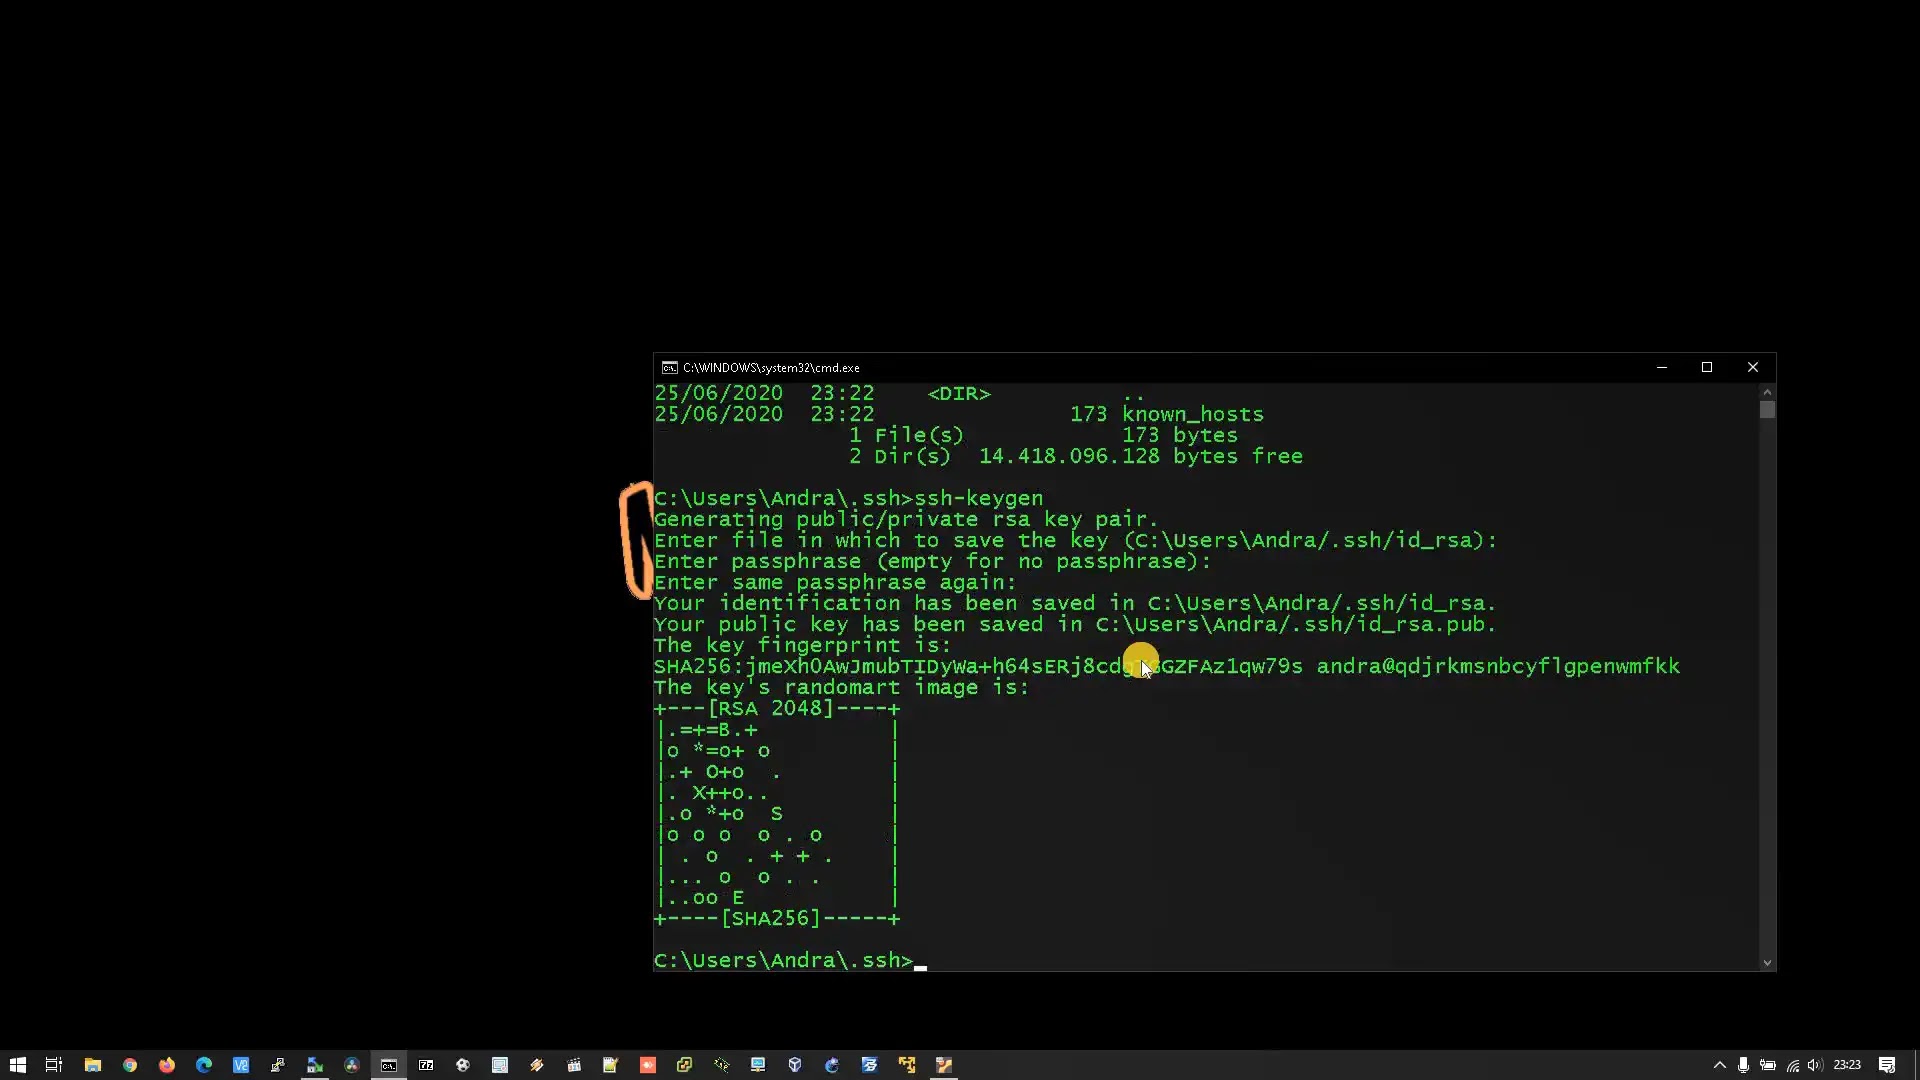
- Generate a key pair using the command
ssh-keygen. - Copy the public key to your server using
ssh-copy-id. - Disable password authentication in the SSH config file to ensure only key-based authentication is used.
Disable Root Login
Another important step is disabling root login. Allowing root access via SSH can be a huge security risk, so it's best to create a separate user account with sudo privileges instead.
To disable root login, edit the SSH config file:
- Open the file using
sudo nano /etc/ssh/sshd_config. - Find the line
PermitRootLoginand set it tono. - Save and exit the file, then restart the SSH service using
sudo service ssh restart.
Connecting IoT Devices Using P2P SSH
Alright, let's get to the fun part—connecting your IoT devices using P2P SSH. P2P, or peer-to-peer, connections allow your devices to communicate directly with each other without needing a central server. This can be incredibly useful for IoT setups where devices need to exchange data quickly and efficiently.
Here's how you can set up a P2P SSH connection:
- Ensure both devices have SSH installed and configured.
- Exchange public keys between the devices to allow secure communication.
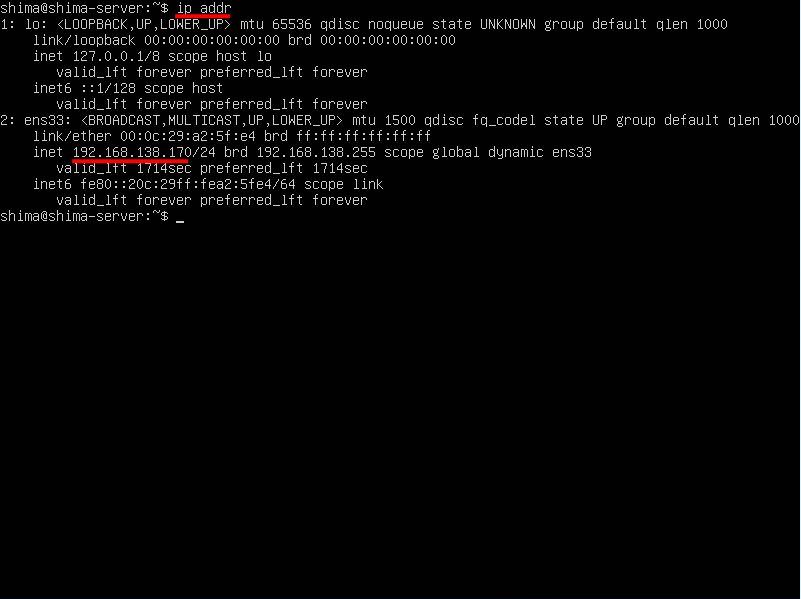
- Use the
sshcommand to connect one device to the other, like so:ssh username@ip_address.
With these steps, your IoT devices will be able to communicate securely and efficiently using P2P SSH.
Troubleshooting Common Issues
Even with the best setup, things can sometimes go wrong. Here are a few common issues you might encounter when setting up SSH for your IoT devices, along with some solutions:
Connection Refused
If you're getting a "Connection refused" error, it could mean that SSH isn't running on the server or that the firewall is blocking the connection. Check the SSH service status using sudo service ssh status and ensure that the firewall allows SSH traffic on port 22.
Permission Denied (Public Key)
This error usually means that there's an issue with your SSH keys. Double-check that the public key has been correctly added to the server and that the file permissions are set correctly. The ~/.ssh/authorized_keys file should have permissions set to 600.
Best Practices for Maintaining Security
Once you've got your SSH setup running smoothly, it's important to maintain good security practices to keep everything running smoothly. Here are a few tips:
- Regularly update your Ubuntu server to ensure you have the latest security patches.
- Monitor your server logs for any suspicious activity using tools like
fail2ban. - Limit SSH access to specific IP addresses if possible, reducing the risk of unauthorized access.
By following these best practices, you'll be able to keep your IoT setup secure and running smoothly for years to come.
Conclusion: Taking Action and Staying Secure
And there you have it, folks—a comprehensive guide to securely connecting remote IoT devices using P2P SSH on an Ubuntu server. Whether you're a seasoned tech pro or just starting out, this guide should have given you all the tools you need to set up a robust, secure IoT network.
Remember, security is an ongoing process. Stay vigilant, keep your systems updated, and always be on the lookout for new threats. And if you have any questions or feedback, feel free to drop a comment below. Sharing is caring, so don't forget to share this article with your tech-savvy friends!
Now, go forth and secure those IoT devices like a pro!
Table of Contents
- Understanding the Basics: What is SSH and Why Use It?
- Why Ubuntu Server is the Perfect Choice for Your IoT Setup
- Setting Up Your Ubuntu Server for IoT Devices
- Securing Your SSH Connection
- Connecting IoT Devices Using P2P SSH
- Troubleshooting Common Issues
- Best Practices for Maintaining Security
- Conclusion: Taking Action and Staying Secure